Completed Fixera work
A custom adapter to keep an existing roller blind in service
Frederiksberg
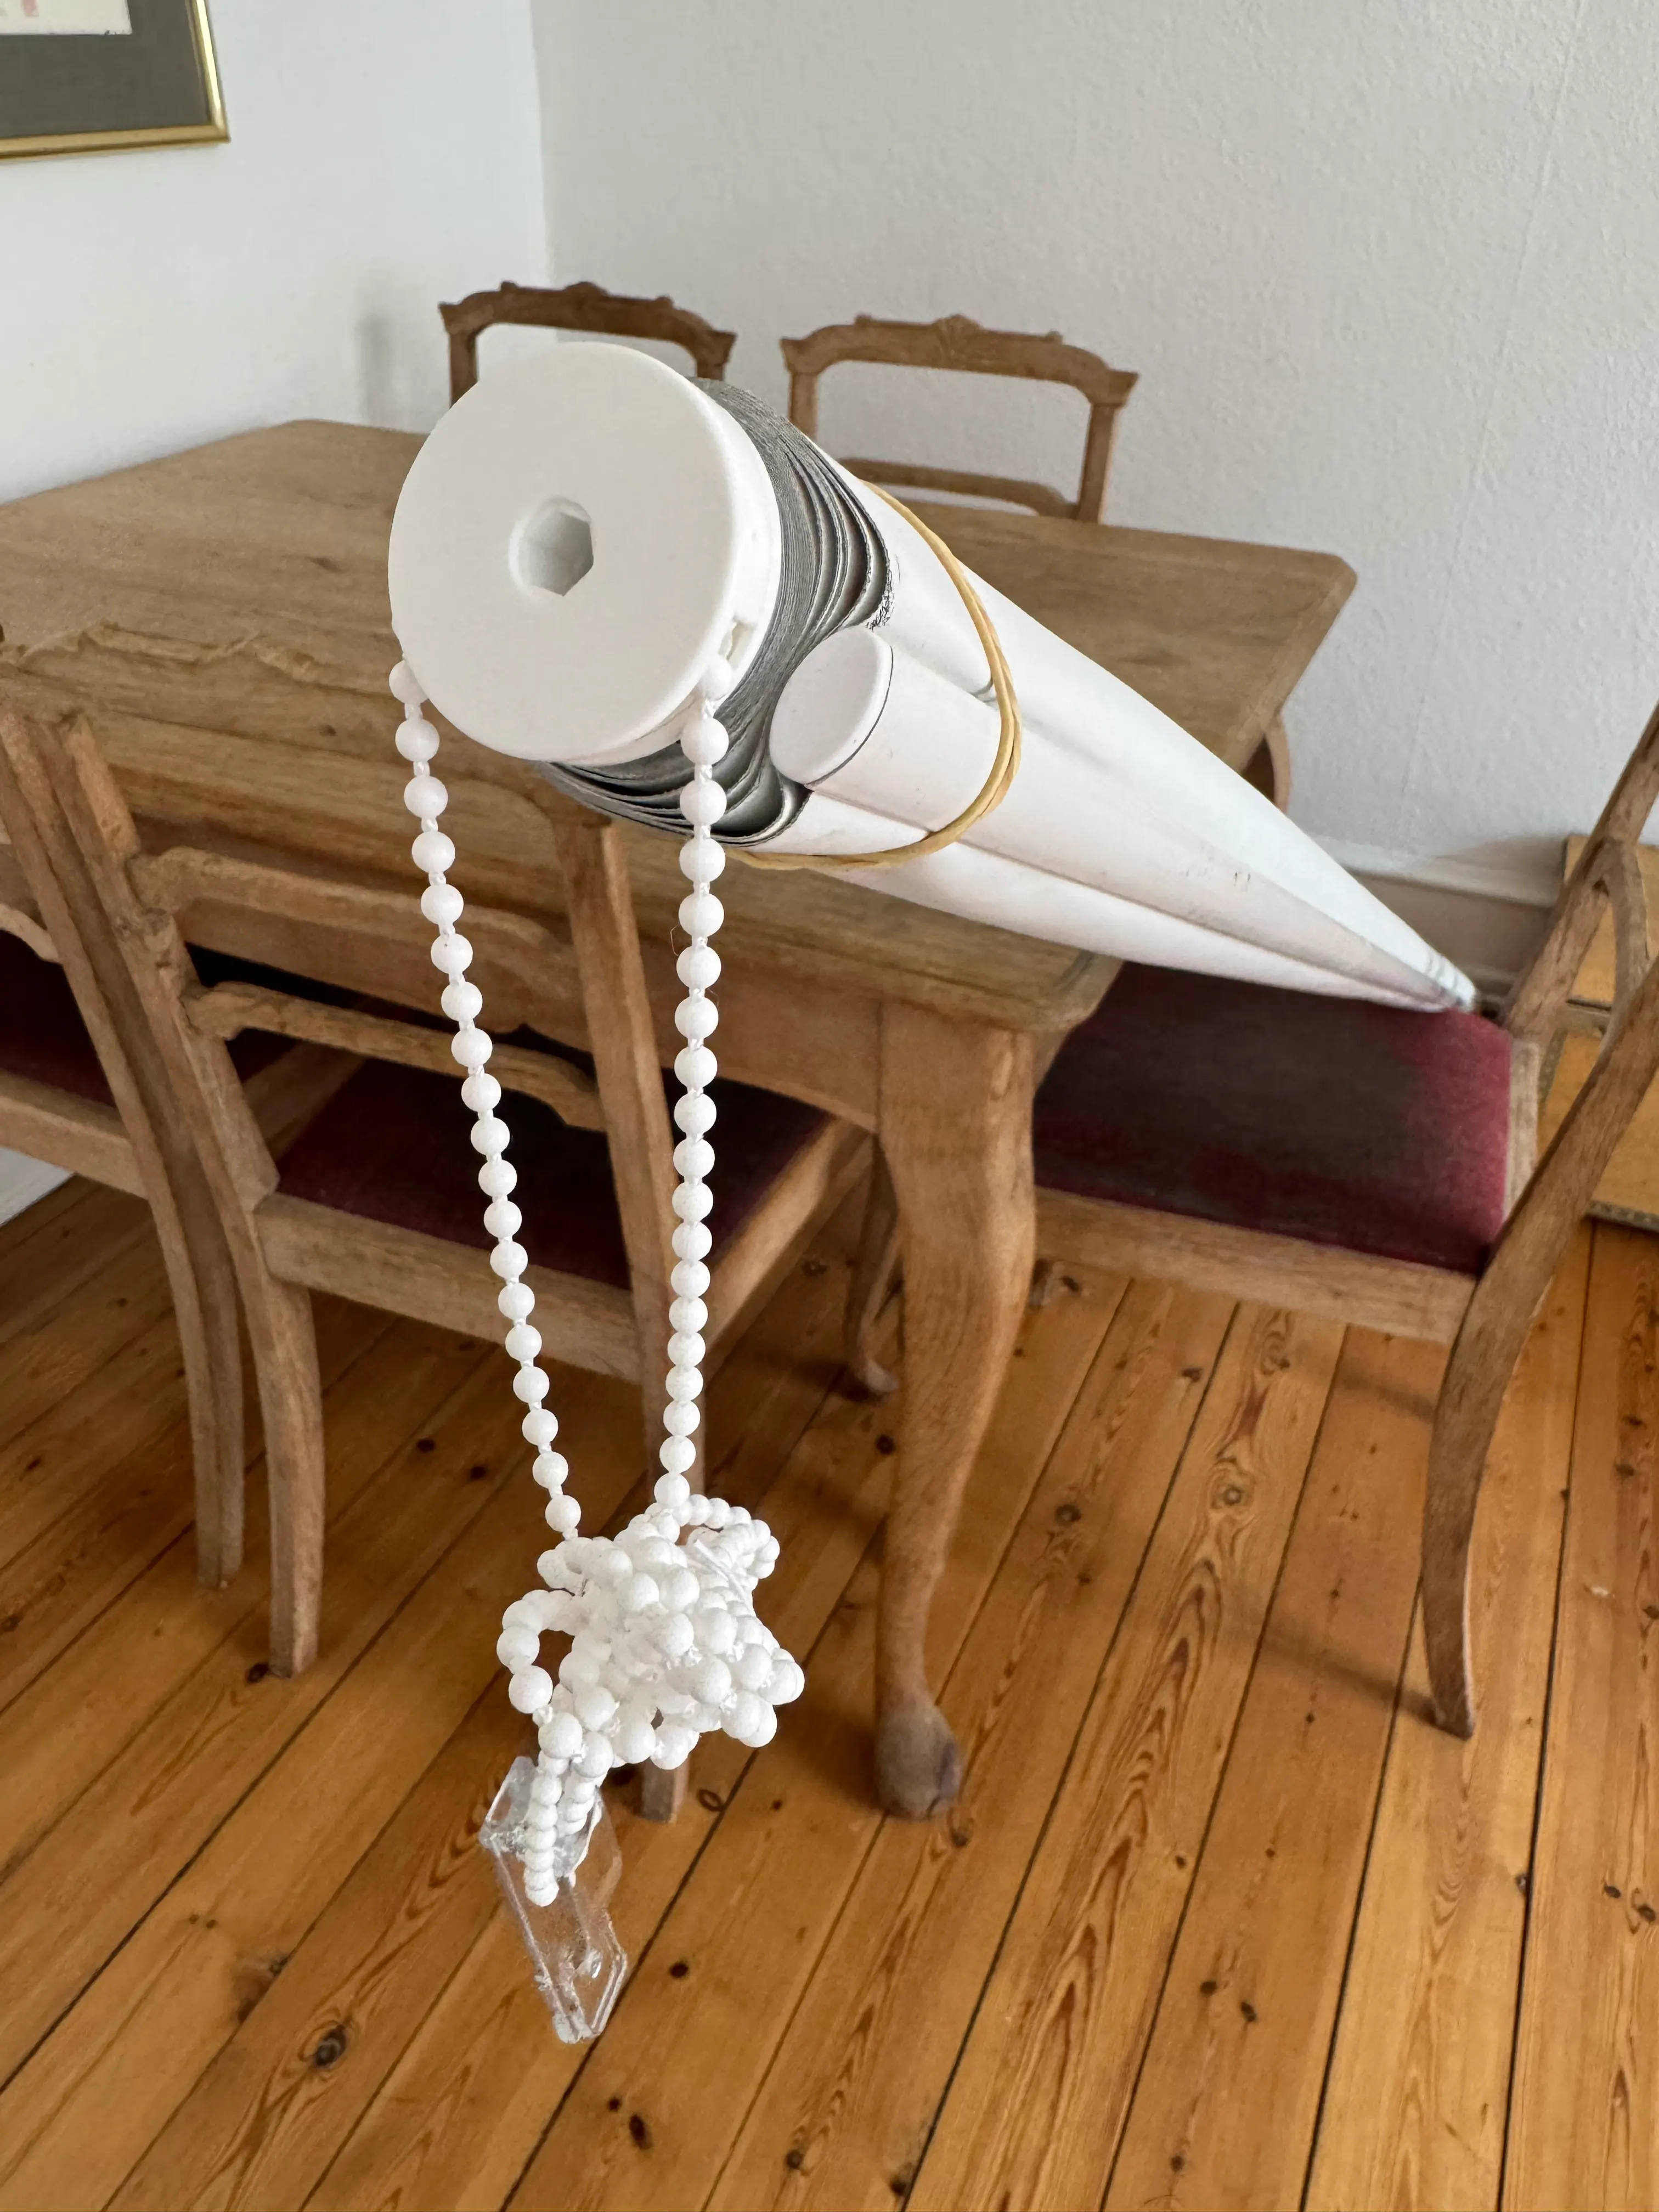
The original control mechanism had broken, but the roller blind, fabric and tube were still usable. Because the replacement mechanism did not match the tube geometry, a dedicated adapter was designed, tested and 3D printed to connect the two.
- Location
- Frederiksberg
- Project type
- Repair
- Focus
- Custom fabrication
- Status
- Completed work
The work
The project story.
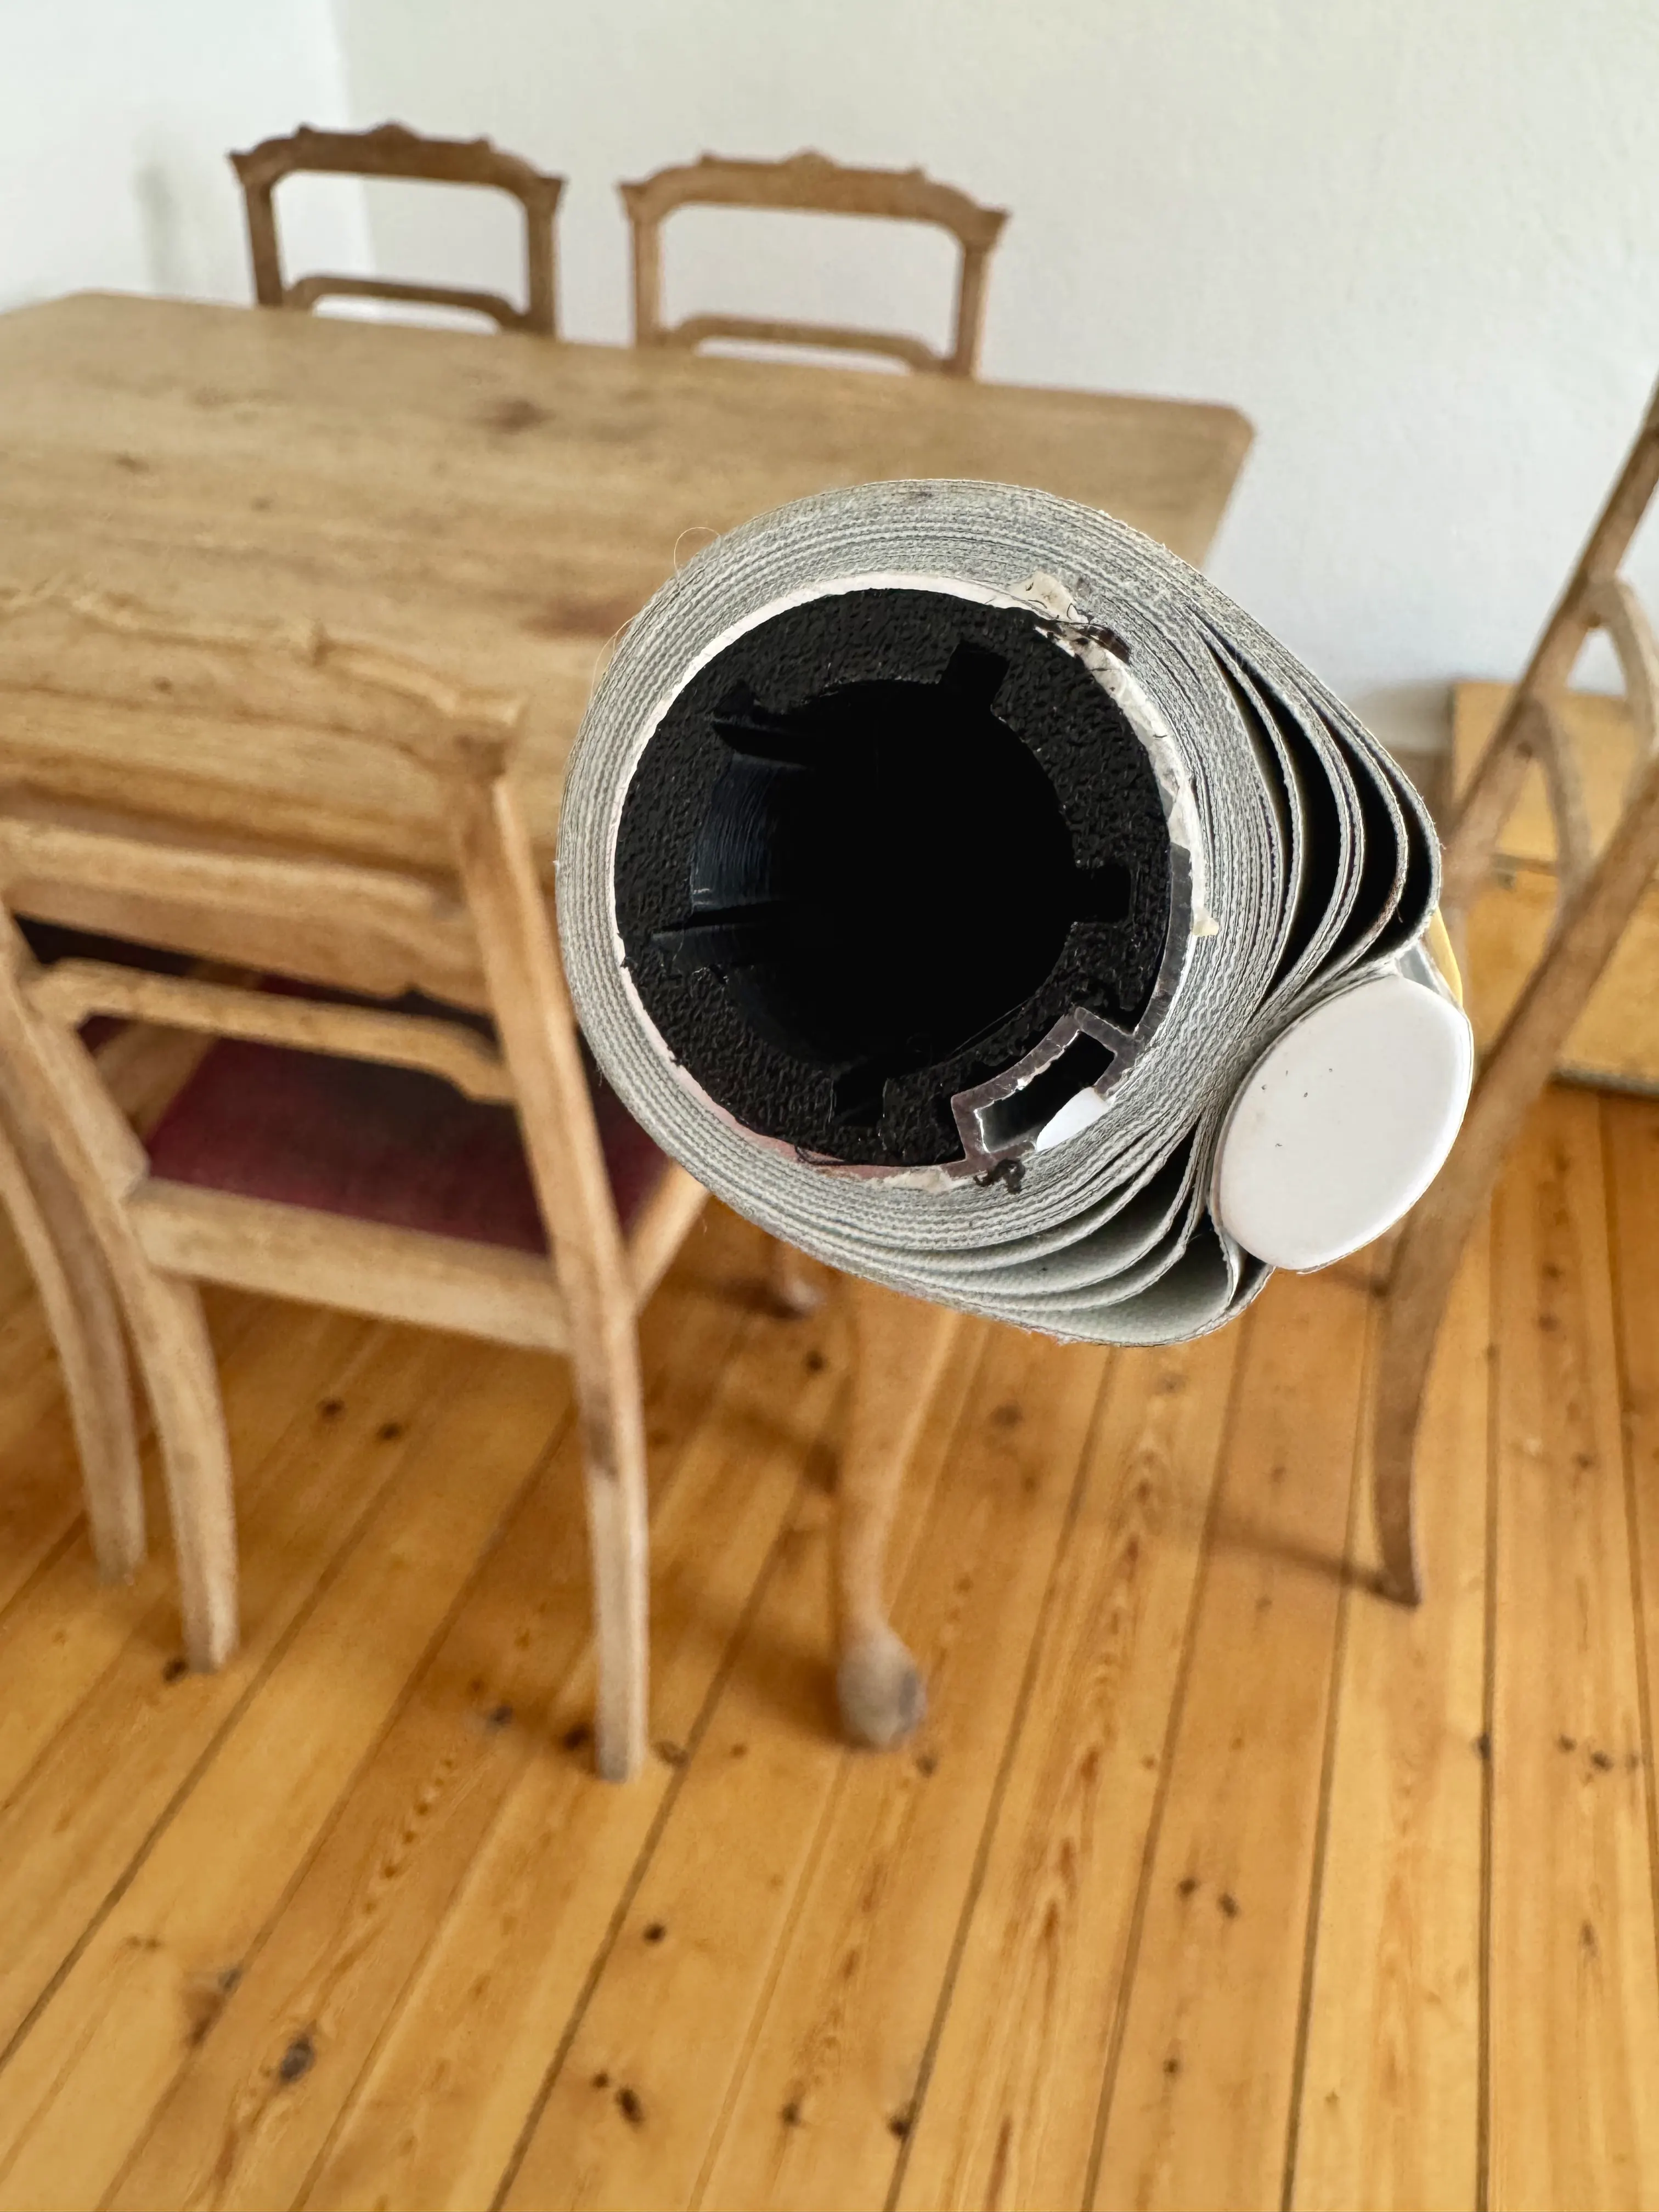
The roller blind's original plastic control mechanism had failed, while the fabric, tube and opposite end could still be reused. Replacing the entire 229 cm blind would have meant discarding components that were still serviceable.
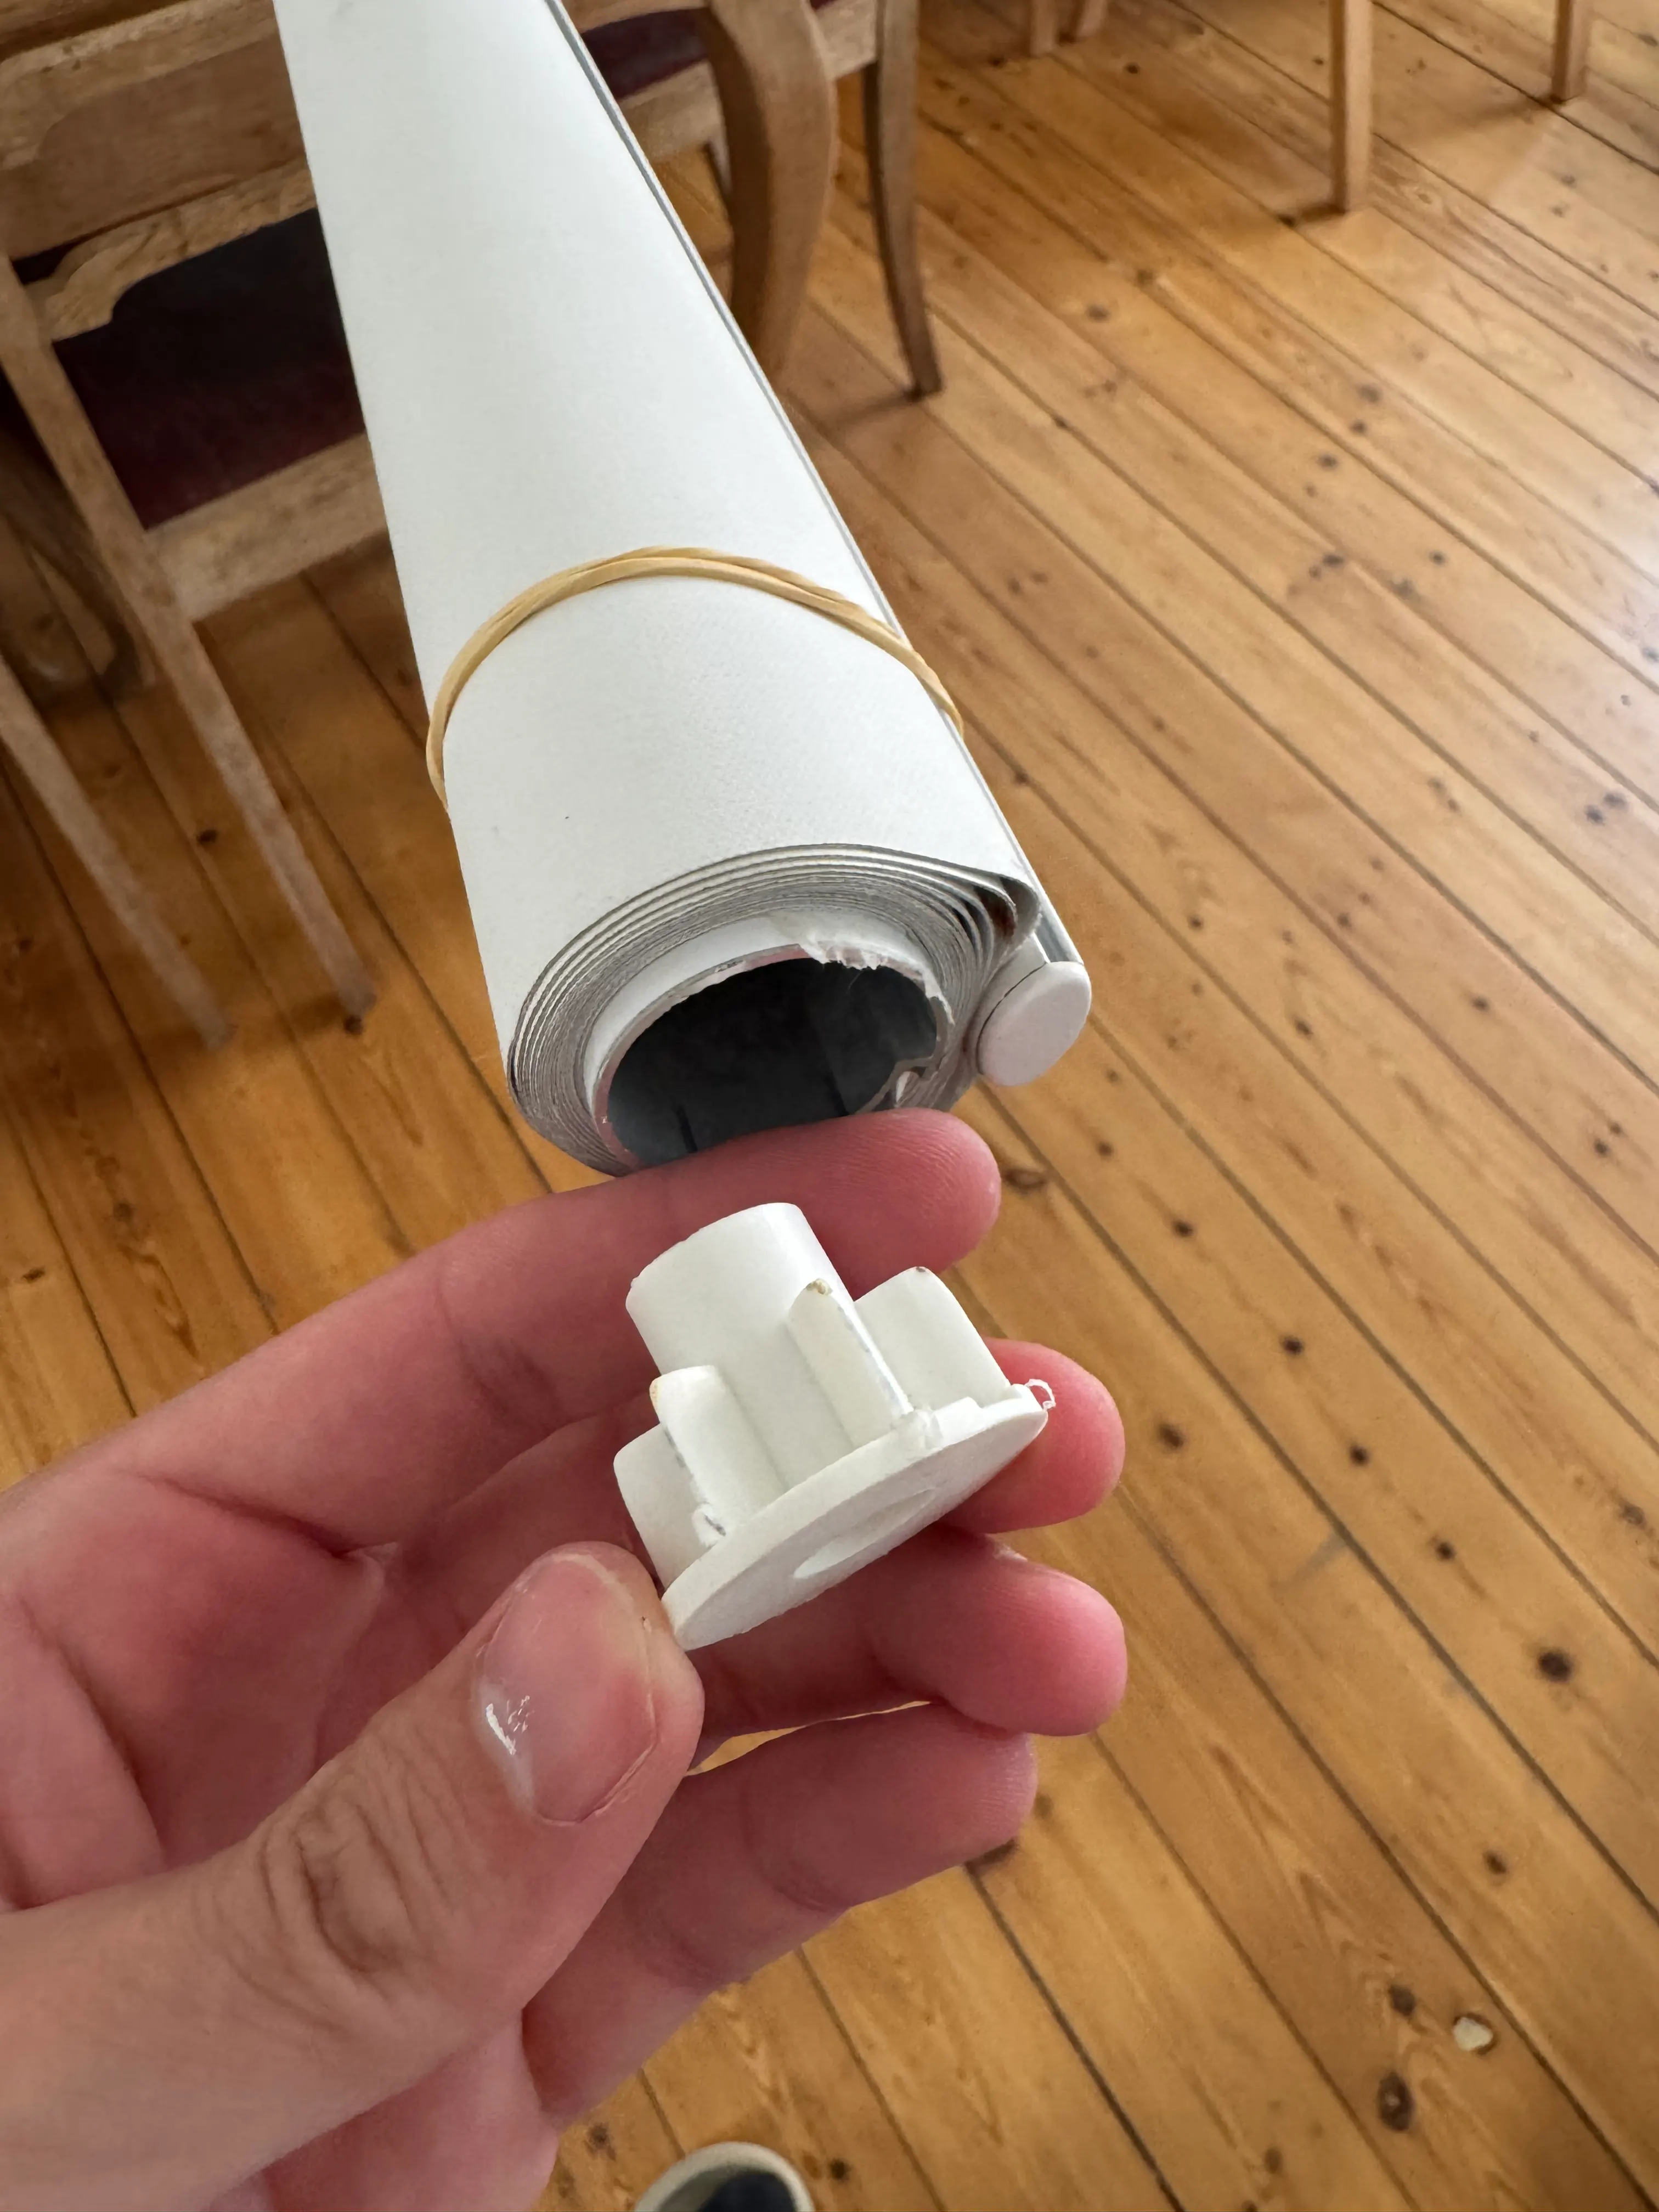
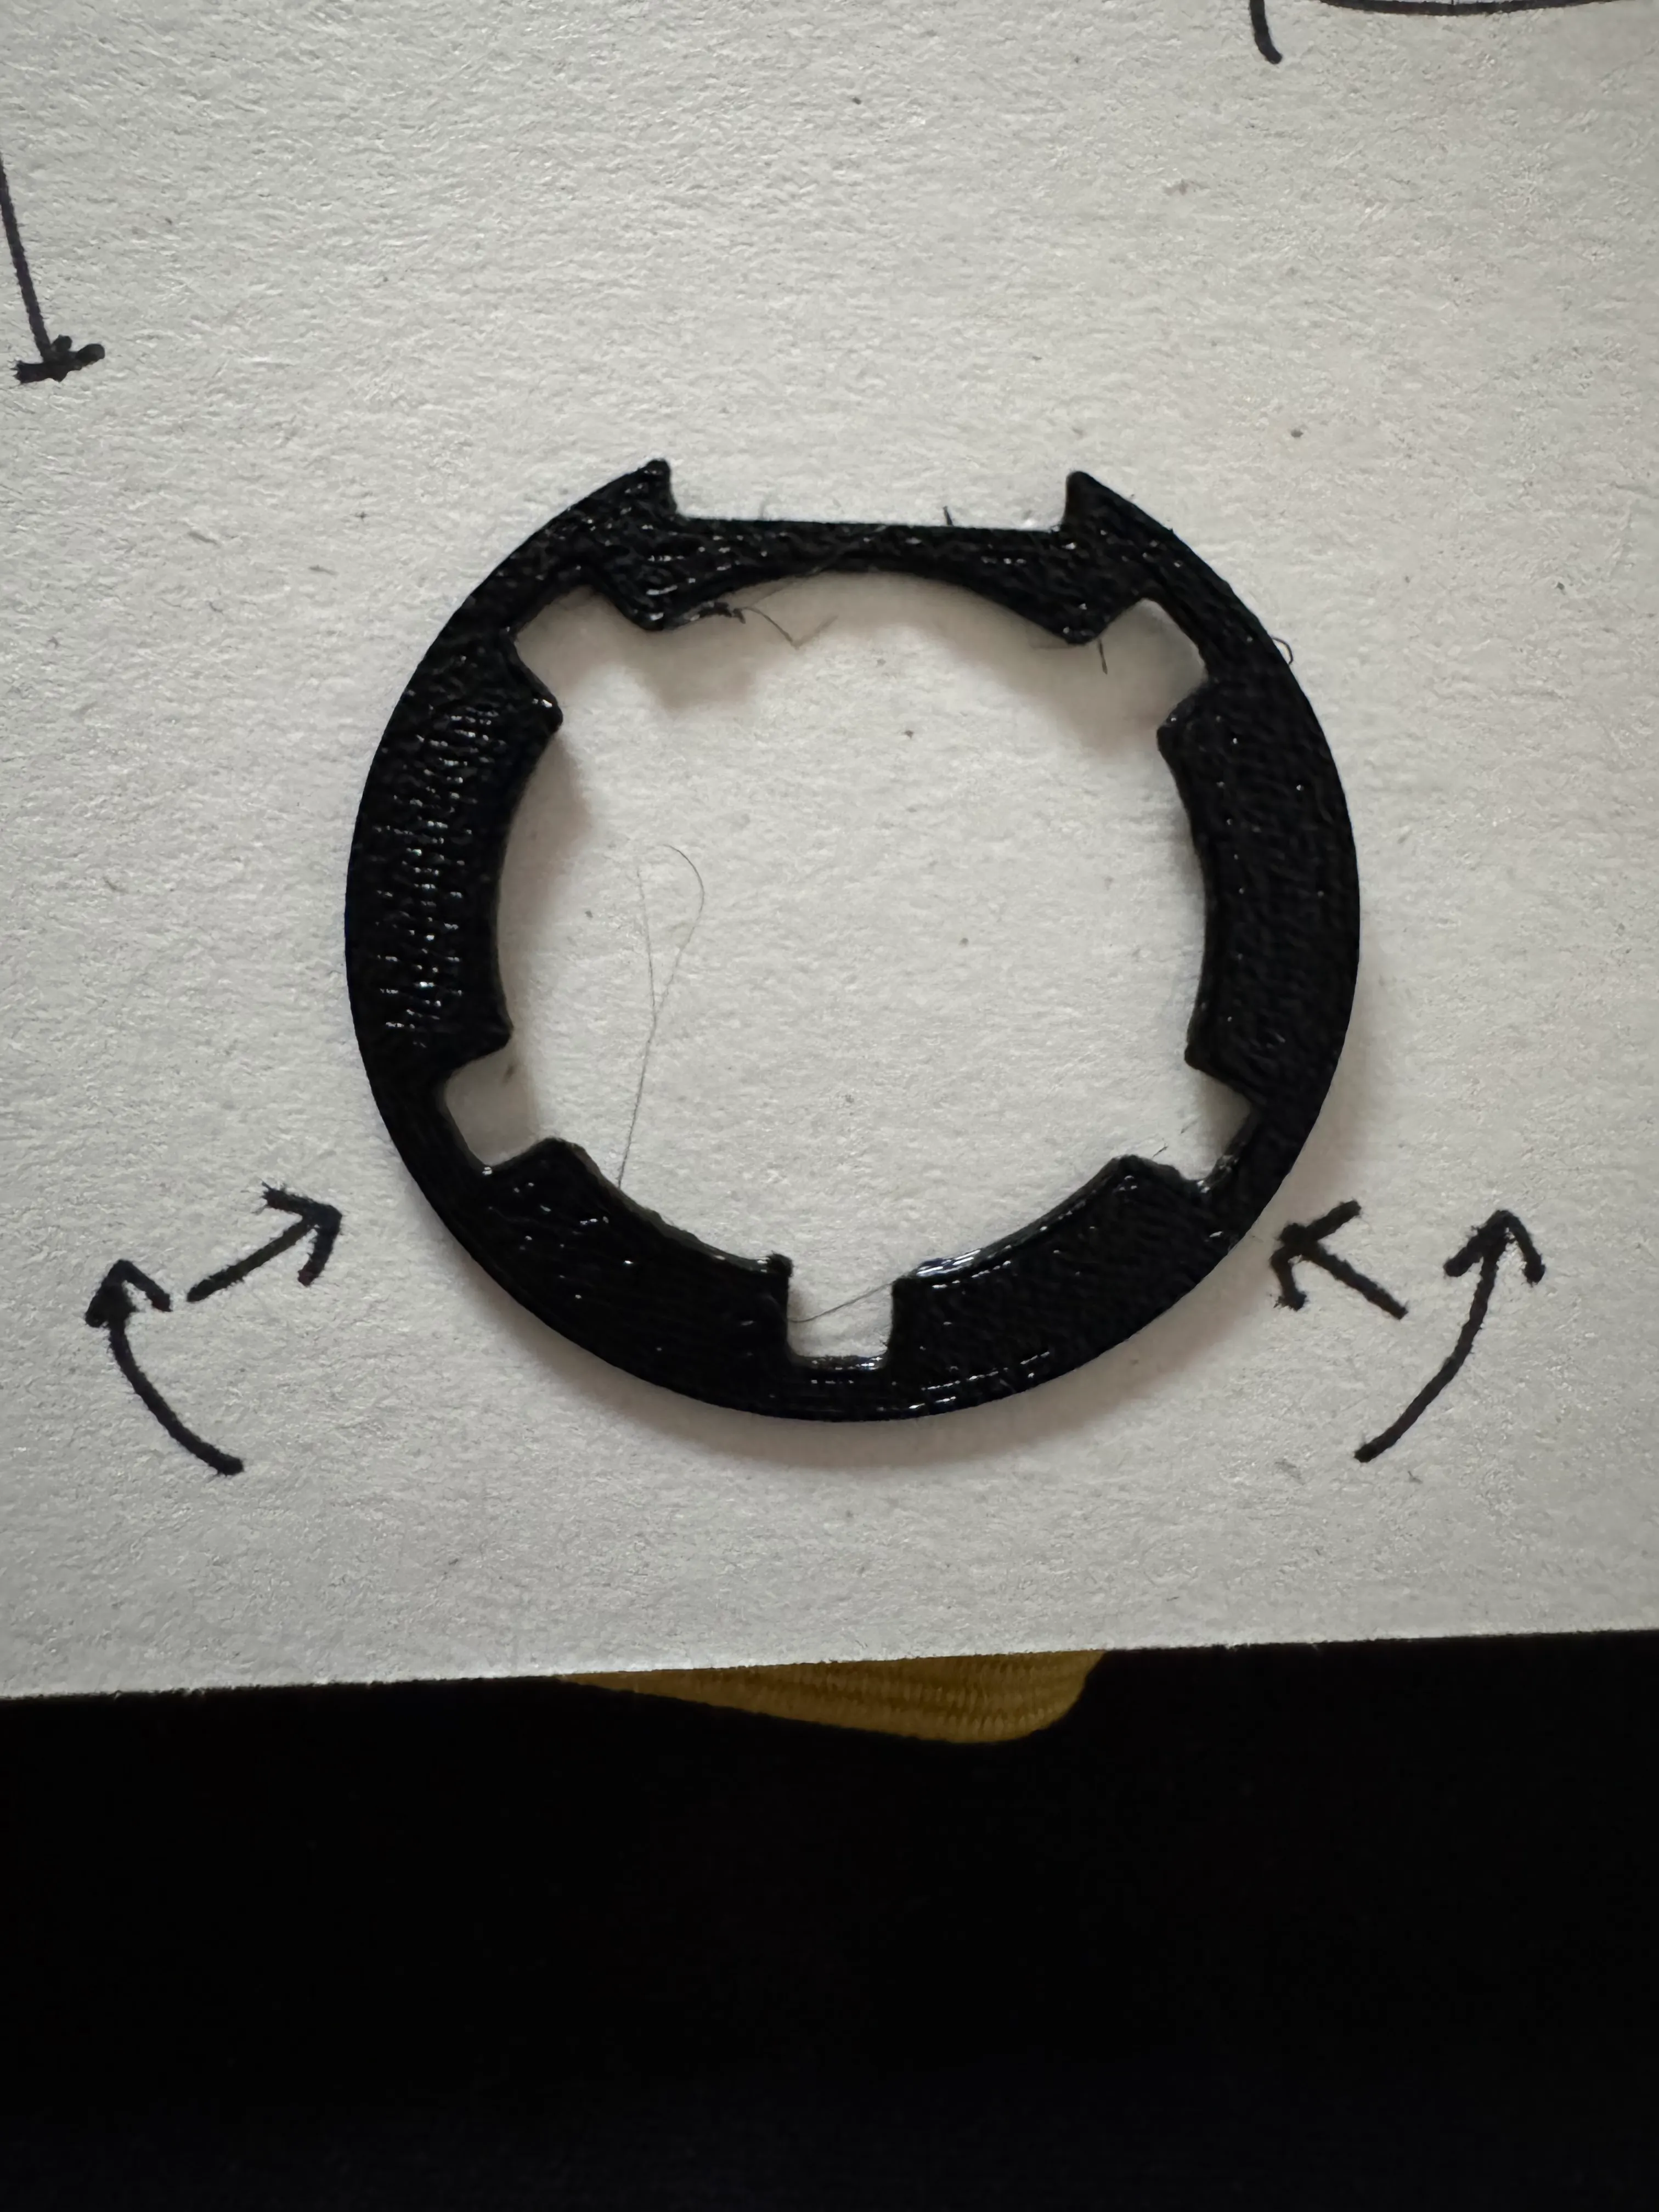
A replacement mechanism was available, but its five-fin interface did not fit directly into the existing tube. The tube also had its own internal longitudinal rib, so the connection required a part shaped for two different interfaces.
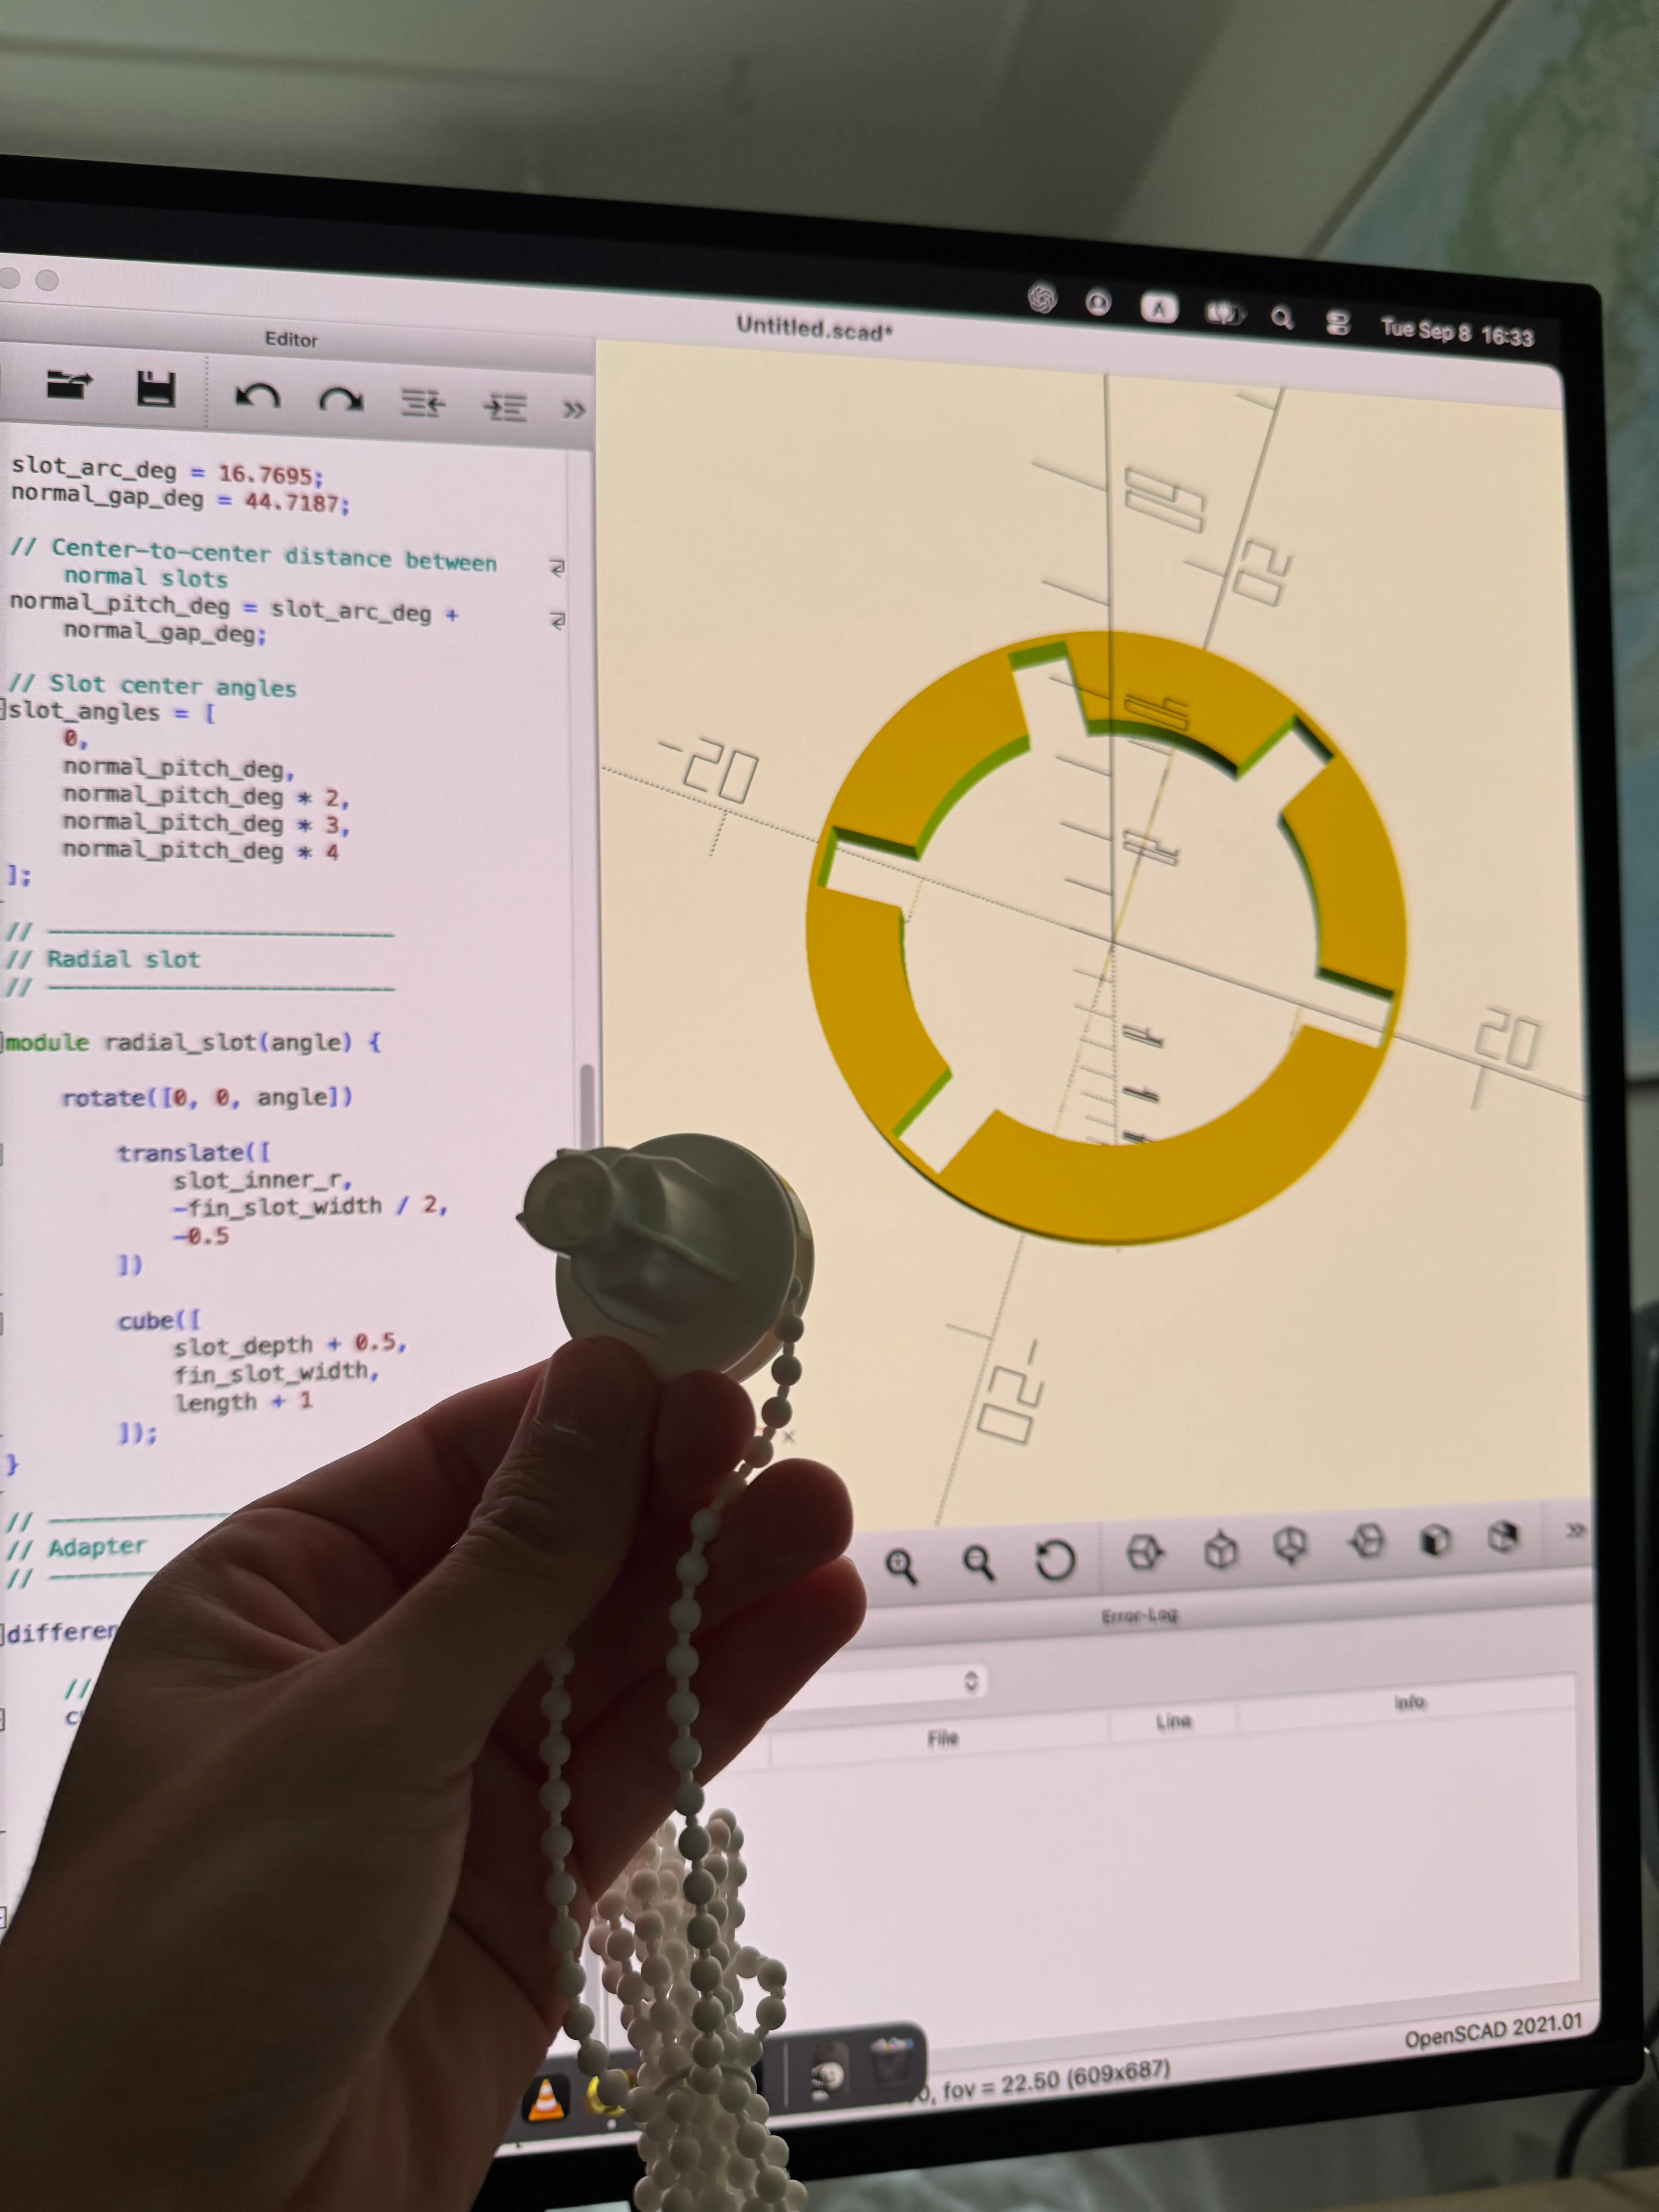
A parametric adapter was developed in OpenSCAD. Thin 3 mm test gauges were used to check the profile and adjust the fin positions before producing the final 22 mm-long adapter. The finished component connected the new mechanism to the original tube, and the client later shared photos of the repaired blind reinstalled in place.
What mattered
Key details.
- 01
Existing blind retained
The fabric and original tube could remain in use instead of replacing the complete 229 cm roller blind.
- 02
Two interfaces in one part
Five internal channels matched the replacement mechanism while an external groove accommodated the longitudinal rib inside the existing tube.
- 03
Fit tested before the final part
3 mm test gauges were used to refine the geometry physically before producing the full 22 mm adapter.
Photographic record
From first step to finished result.
A photographic record of the work, kept in the sequence documented for this project.
Your home, your next step
Something worth doing properly?
Send a few photos, a short description and your location. You will get a clear next step based on the practical scope of the job.